

Here's my list:
Flyrant, 2x Devourers, Old Adversary
Flyrant, 2x Devourers, Hive Commander (Warlord: Night Fight)
5 Ymgarls
5 Ymgarls
Doom in a Pod
10 gants
10 gants
20 gants
Tervigon with Toxin, Adrenal, 3 powers
Tervigon with Toxin, Adrenal, 3 powers
Tervigon with Toxin, Adrenal, 3 powers
2 Biovores
My Opponents list:
Coteaz
Crowe
5 Purifiers, 2 psycannons, psybolt, and a halberd on sarge, in:
Rhino
6 Purifiers, 2 Psycannons, psybolt, and a halberd on sarge, in:
Rhino
10 Purifiers, 4 Psycannons, psybolt, and a halberd on sarge, in:
Land Raider Crusader, Multimelta and Psybolt (with Coteaz)
Stormraven (Crowe here)
Destroyer Lord (Warcythe, 2+ (I think) and Mindshackles)
5 Tesla Immortals
Night Scythe
The Mission: Big Gun never tire (4 objectives)
The Board: See pics below, we deployed using Dawn of War
His warlord trait: Not useful I believe.
Night Fight: active turn 1
My Psychic Powers:
Flyrant (WL): Enfeeble,Endurance
Flyrant: Iron Arm, Haemohrrage
Tervigon 1: Enfeeble, Endurance, Life Leech
Tervigon 2: Smite, Life Leech, Warp Speed
Tervigon 3: Enfeeble, Warp Speed, Smite
Doom of Malan'tai: Puppet Master
Below (as well as my deployment) you can see the table, where the 4 objectives are, and where both my Ymgarls went. The three circles, and arrow pointing towards my Tervigon, are the 4 objectives.


Tyranids turn 1: I advance, and shooting does nothing. Psychic Powers are all good.

Grey Knights turn 1: He flat outs a rhino forward, and pops smoke, while his other two vehicles start to advance slowly up the far right board.
Turn 2 Tyranids: Hive Commander proves its worth as all 4 units show up. Doom lands by his backfield objective to contest it as he has no troops out. 10 gants outflank on the far right, and shoot into rear armor of Rhino, doing nothing. Flyrants advance. Flyrant 1 on the left whiffs and the Rhino is alive with a hull point. The Spore then pens it twice, and it passes both Smoke saves. Then, two Tervigons gance it once more with shooting, but it survives that too. I finally target it with the second flyrant, which finishes it, but I'd hoped to use it on the second rhino. One dies in the explosion. Biovores nail the survivors in a risky shot, but he passes all saves from two direct hits (in pic below I had just killed his rhino, he was unloading guys.)


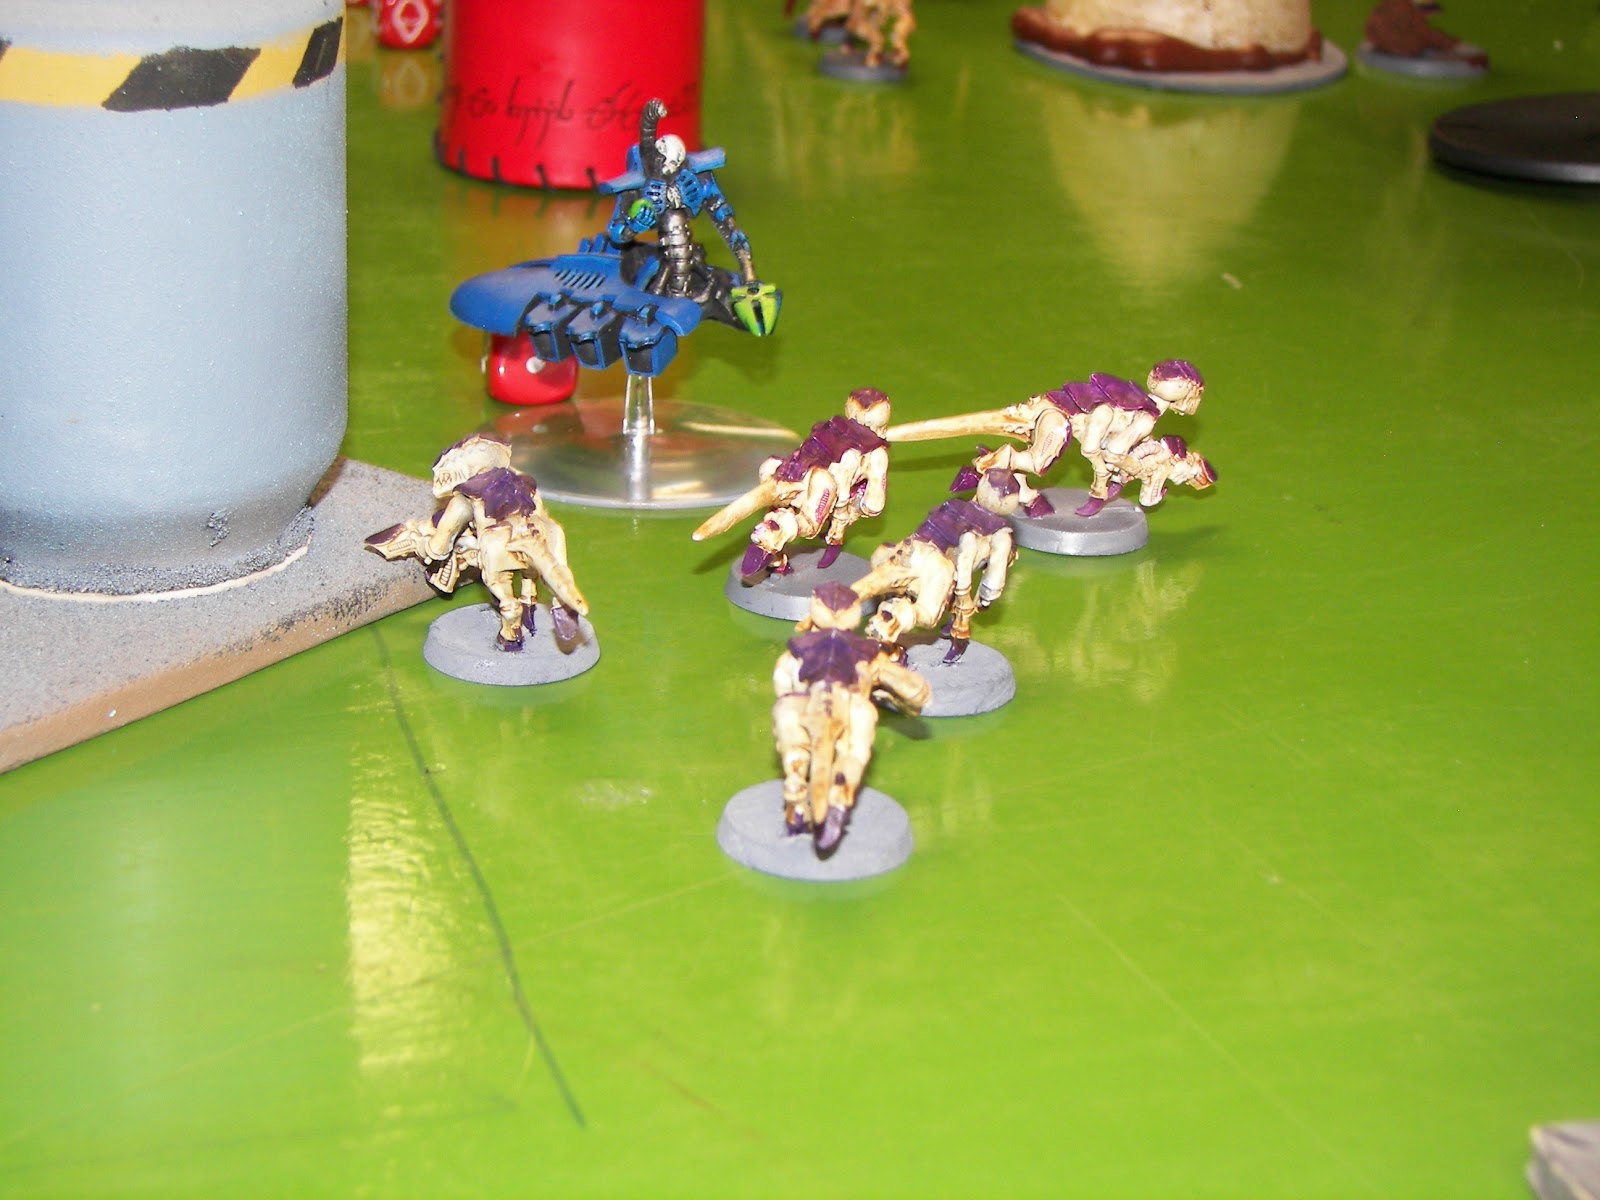
Necroknights turn 2: The Night Scythe Comes in, and shoots at my Warlord Flyrant. I pass all saves and grounding checks. He also drops off the Destroyer lord.

Both Grey Knight vehicles on the right advance, and open up into my Tervigon. I lose three wounds after Feel No Pain. In Assault, my Ymgarls go +1 attack and whipe out the Purifiers, then consolidate towards the Knight vehicles.

Tyranid turn 3: Flyrant swoops over and lands by the Raider. Ymgarls and a unit of spawned gants assault the rhino. It is glanced to death, and surrounded, leading to the death of all on board! Unfortunately, my Flyrant failed his charge on the Raider. On the other side of the board, my other Flyrant goes after the Night Scythe. 6 hits later at Strength 6, I fail to even hit! I did however make sure to be well out of charge range of the blasted Destroyer lord.

Turn 3 Grey Knights/Necrons: Yikes! Stormraven inbound! The Flyrant miraculously survives the deluge of fire ungrounded, with one wound left! The 10 purifiers in the Raider disembark and run behind it, and blow the gants there into ash. Night Scythe leaves the board.

The Destroyer lord assaults my gant screen. (Just as planned...)

He kills a lot! :O But he does take a poisoned wound first at least.
Turn 4 Tyranids: One Flyrant Vector Strikes, and the other shoots up the Purifiers. Coteaz saves all the Vector Strikes, and the Flyrants Devourers make a remarkable show of 0 casualties... ugh. If nothing else, on the left my two idle Tervigons spawn, one running out. The resulting gants tear the Necron Destroyer Lord into scrap, and he fails to reanimate.

Turn 4 Grey Knights: Purifiers hop back into the Raider, and the Night Scythe comes in.

Turn 5 Tyranids: My two Flyrants (one in from reserves) converge, and either assault or shoot down the Raider an Night Scythe, respectively. The one lost a wound from Perils on his failed Iron Arm check. He has yet to put the Purifiers in the wreckage.

Turn 5 GK/Cronz: Revenge! The Purifiers with Coteaz back track into cover, then light up and kill the Grounded Flyrant. The Stormraven then pivots around in hover mode and takes down the other Flyrant. The Immortals also walk in off the edge and shoot down the 2 man squad of Ymgarls that was lurking around.


Here my camera dies, and no more pictures are taken.
Tyranids turn 6: The game goes on, and I go for the kill. Two Tervigons assalt the Stormraven, and I shockingly land only 2 out of 6 to hit rolls... 3+ my ass! It is immobilised and stunned. The Doom meanders close to his objective, contesting it. I currently hold 3 and contest the other. The Biovores nail the Purifiers and kill a few. Turn 6 GK/Crons: The Stormraven uses it's power to become un-stunned (Fortitude?) It then blows awat my two wound Tervigon. His death whipes out the small gant squad very near by on that objective (the remnants of the one that killed his rhino). The Immortals and purifiers advance towards his objective, killing 2 gone-to-ground Ymgarls. In assault, my Tervigons are allowed to swing, as they're still in base, so I smash it to the ground.
Turn 7: A tervigon assaults Crowe, the other secures objectives in the backfield. Crowe survives sadly. Biovore shooting kills another few Purifiers.
Turn 7 GK/Necrons: The Purifiers and Immortals advance on the Doom Ymgarls. The Doom, in his first attempt of the game, goes ballistic. All purifiers die, as my opponent rolls a 17 and a 16 on his checks. His cover saves are hot on the Immortals at least, and enough survive to assault the 2 Ymgarls (he shot one on the way in). I kill one, then get killed. Crowe is smashed by the Tervigon on the other side of the field.
With that, the game ends! My opponent has 3 Immortals remaining. I contest one objective, and 2 gant squads and the Biovores hold the other 3. I also score First Blood, Warlord, Linebreaker, and kill a Heavy Support. My opponent gets warlord. MASSACRE FOR LEVIATHAN! 13-1 final score
Post game thoughts: I really, really, love how my list worked. I had my tools at all the right spots, when I needed them. That being said, my dice were overall a bit above average. Really bad shooting sometimes at the Sycthes and purifiers, but later I rolled mega hot on saves and FnP. This helped a lot with tipping a close game into my favor. My opponent had overall pretty decent dice, I just saved a lot. I think my opponent suffered from a lack of long range fire, and also not having enough bodies. Once he lost both Purifier squads in turns 2 and 3, he was very low on troops. This looks very close to a final list for Crucible. It really has everything I want in a list! Once again, my choice of Ymgarls has validated itself. These guys work so much better for me than Hive Guard...
Very nice batrep; good to have photos and clear thoughts about why you did things. Thanks for posting!
ReplyDelete